
honeywell pro 5000 installation manual pdf
Honeywell Pro 5000 Installation Manual PDF: Article Plan
This comprehensive guide details the Honeywell Pro 5000’s setup‚ covering wiring (18-22 AWG)‚ compatibility‚ and model specifics like TH5110D‚ ensuring a smooth installation process.
Welcome to the world of smart climate control! The Honeywell Pro 5000 (FocusPRO Series TH5000) represents a significant step towards enhanced home comfort and energy efficiency. This non-programmable digital thermostat offers reliable performance and straightforward operation‚ making it an excellent choice for both new installations and upgrades.
This introduction serves as your starting point for understanding the Pro 5000’s capabilities and preparing for a successful installation. Whether you’re a seasoned HVAC technician or a confident DIY enthusiast‚ this guide will provide the necessary information to navigate the process effectively.
The Pro 5000 is designed for compatibility with various heating and cooling systems‚ offering manual or auto changeover configurations. Proper installation‚ guided by this manual‚ ensures optimal functionality and longevity of your new Honeywell thermostat. Congratulations on choosing a product designed for excellence!

Understanding the Pro 5000 Series (TH5000)
The Honeywell FocusPRO Series TH5000 is a digital‚ non-programmable thermostat designed for ease of use and reliable performance. It’s a popular choice for homeowners seeking a simple yet effective solution for controlling their home’s temperature. This series prioritizes straightforward operation‚ eliminating the complexities of programmable schedules while maintaining precise temperature regulation.
Key features include compatibility with standard heating and cooling systems‚ and options for manual or automatic changeover between heating and cooling modes. The TH5000 utilizes standard thermostat wiring (18-22 AWG) and doesn’t typically require shielded cable.
Understanding its core functionality – controlling heating‚ cooling‚ and fan operation – is crucial before beginning installation. This series focuses on delivering consistent comfort without the need for advanced programming‚ making it ideal for those who prefer a set-and-forget approach.
Package Contents and Initial Inspection
Upon receiving your Honeywell Pro 5000 (TH5000 series)‚ carefully inspect the package for any signs of damage during shipping. A complete package typically includes the thermostat base‚ the thermostat body‚ mounting screws‚ wire labels‚ and this installation manual. Verify that all listed components are present before proceeding.
Examine the thermostat body and base for any physical defects‚ such as cracks or broken parts. Ensure the display screen is intact and free from damage. The included wire labels are essential for proper wiring identification during installation‚ so confirm their presence.
If any components are missing or damaged‚ immediately contact Honeywell customer support or the retailer where you purchased the thermostat. Do not attempt to install a damaged or incomplete unit‚ as this could compromise its functionality and safety.
Safety Precautions During Installation
Prioritize safety during the Honeywell Pro 5000 installation. Always disconnect power to your heating and cooling system at the breaker box or disconnect switch before beginning any wiring. Failure to do so could result in electrical shock or damage to the equipment.
If you are unfamiliar with electrical wiring‚ consult a qualified HVAC technician. Incorrect wiring can lead to system malfunction‚ fire hazards‚ or void the warranty. Use appropriate safety gear‚ including insulated tools and eye protection.

Be mindful of low-voltage wiring and avoid short circuits. Double-check all connections before restoring power; Ensure the thermostat is mounted securely to prevent accidental dislodging. Follow all local electrical codes and regulations during the installation process.
Wiring Specifications and Requirements
Proper wiring is crucial for optimal Honeywell Pro 5000 performance. The recommended thermostat wire gauge is 18-22 AWG – solid or stranded wire is acceptable. Utilizing the correct gauge ensures reliable signal transmission and prevents voltage drops. Shielded cable is generally not required for standard installations‚ simplifying the wiring process.
Ensure wires are securely connected to the appropriate terminals on both the thermostat base and the HVAC system control board. Loose connections can cause intermittent operation or system failure. A dedicated power supply is necessary‚ alongside appropriate disconnect means and overload protection‚ adhering to local electrical codes.
Carefully identify each wire before connecting it‚ referencing the system’s wiring diagram and the thermostat’s terminal identification guide.
Recommended Thermostat Wire Gauge (18-22 AWG)

The Honeywell Pro 5000 operates optimally with thermostat wire ranging from 18 to 22 American Wire Gauge (AWG). This specification applies to both solid and stranded wire configurations‚ offering flexibility during installation. Using wire within this range minimizes voltage drop‚ ensuring consistent communication between the thermostat and your HVAC system.
Thinner gauges (higher numbers) are suitable for shorter wire runs‚ while thicker gauges (lower numbers) are recommended for longer distances to maintain signal integrity. Avoid using wire gauges outside the 18-22 AWG range‚ as this could lead to unreliable performance or system malfunctions. Proper wire gauge selection is a foundational element of a successful installation.
Shielded Cable – Necessity or Not?
Generally‚ shielded cable is not a requirement for a standard Honeywell Pro 5000 installation. The thermostat is designed to function reliably without it in most residential environments. However‚ consider shielded cable if your wiring runs are located in areas with significant electromagnetic interference (EMI).
Sources of EMI include high-voltage wiring‚ motors‚ or other electronic devices. Shielded cable helps to minimize interference‚ preventing potential communication errors between the thermostat and the HVAC system. While not typically necessary‚ it provides an extra layer of protection in electrically noisy environments‚ ensuring consistent and accurate operation of your Pro 5000 thermostat.
System Compatibility Check
Before beginning the installation‚ verifying your HVAC system’s compatibility with the Honeywell Pro 5000 is crucial. This thermostat generally supports standard 24V heating and cooling systems‚ including forced air‚ heat pump‚ and conventional furnaces. However‚ it’s essential to confirm compatibility with millivolt systems or proprietary communication protocols.
Check if your system utilizes a “C-wire” (common wire) as the Pro 5000 often requires one for consistent power. If a C-wire isn’t present‚ an adapter kit might be necessary. Review your existing thermostat’s wiring configuration and compare it to the Pro 5000’s wiring diagram to ensure a seamless transition and avoid potential operational issues.
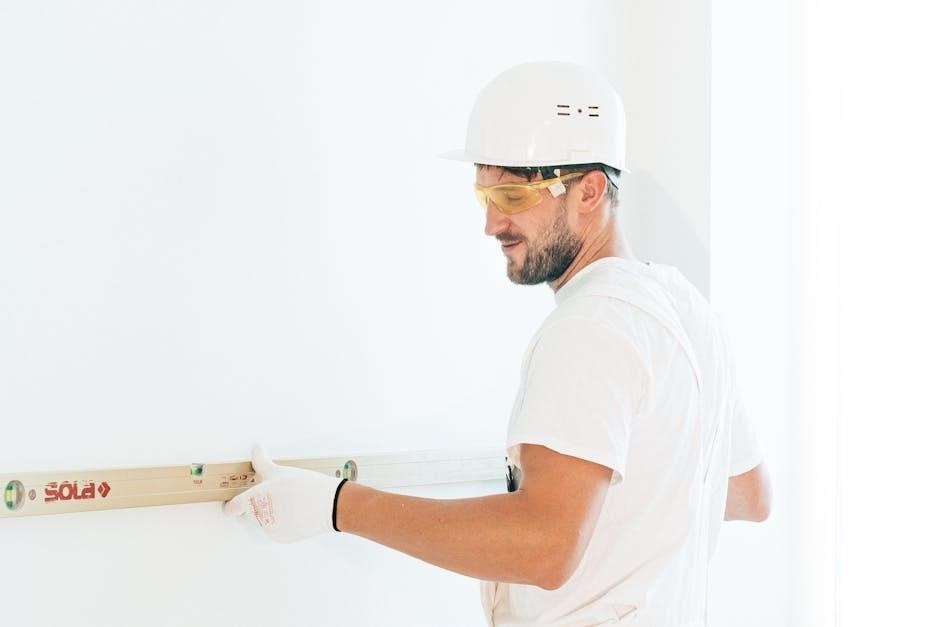
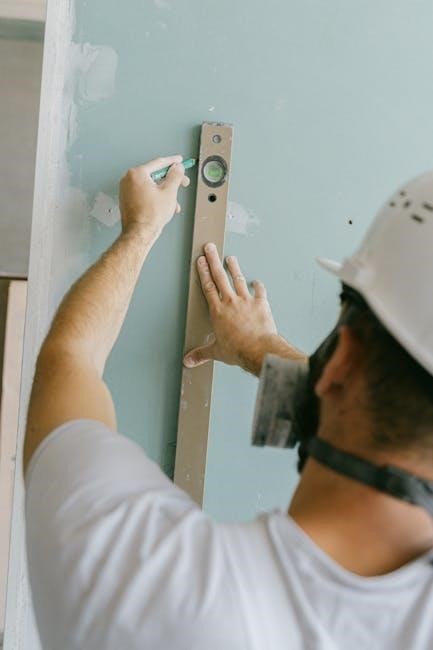
Mounting the Thermostat Base
Securely mounting the thermostat base is a foundational step for a successful installation. Begin by disconnecting power to your HVAC system at the breaker box. Remove your old thermostat from the wall‚ carefully noting the wire connections. Use the provided mounting screws to attach the Pro 5000 baseplate to the wall‚ ensuring it’s level for accurate temperature readings.
Utilize a level to guarantee proper alignment. If existing screw holes don’t align‚ use the provided anchors for secure installation in drywall. Route the thermostat wires through the baseplate opening‚ leaving sufficient slack for easy connection to the terminals. Double-check the base is firmly attached before proceeding to the wiring stage.

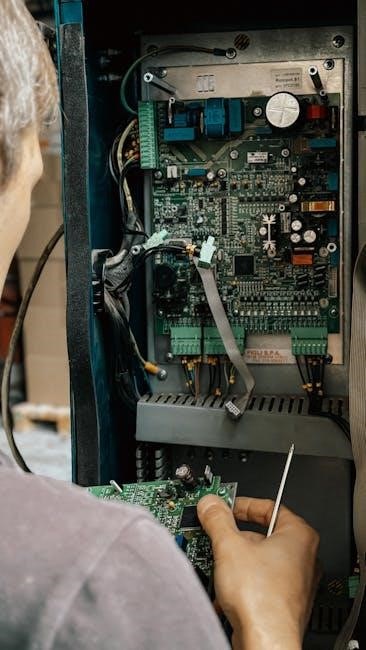
Wiring the Honeywell Pro 5000
Precise wiring is crucial for the Honeywell Pro 5000’s functionality. Use 18- to 22-gauge thermostat wire; shielded cable isn’t necessary. Refer to the wiring diagram included with your thermostat and the existing wiring configuration. Carefully connect each wire to the corresponding terminal on the baseplate – Heat‚ Cool‚ Off‚ and Common (C).
Ensure each wire is securely fastened to prevent loose connections. Pay close attention to the Manual/Auto changeover configuration (0 for Manual‚ 1 for Auto). Double-check all connections against the wiring diagram before proceeding. Incorrect wiring can damage your HVAC system or the thermostat itself‚ so accuracy is paramount.
Terminal Identification and Function (Heat/Cool/Off)
Understanding terminal functions is vital for correct wiring. The ‘Heat’ terminal activates your heating system‚ while ‘Cool’ engages the cooling system. ‘Off’ deactivates both. The ‘C’ (Common) terminal provides the 24V power supply needed for thermostat operation. Accurate identification prevents system malfunctions.
Incorrectly connecting wires to these terminals can lead to reversed operation – heating when cooling is desired‚ or vice versa. Always consult the wiring diagram specific to your HVAC system. Ensure wires are firmly secured to their designated terminals. A loose connection can cause intermittent operation or complete system failure. Double-check all connections before powering on.
Manual/Auto Changeover Configuration
The Honeywell Pro 5000 offers both manual and auto changeover options‚ dictating how the thermostat switches between heating and cooling modes. Manual changeover requires the user to physically select the desired mode (Heat‚ Cool‚ or Off); Auto changeover‚ conversely‚ automatically selects the appropriate mode based on the setpoint and the current room temperature.
Setting ‘0’ typically configures manual changeover‚ while ‘1’ activates auto changeover. Consider your climate and preference when choosing. Auto changeover is ideal for consistent temperatures‚ while manual provides greater control. Incorrect configuration can lead to inefficient operation or discomfort. Refer to the thermostat’s display and programming instructions for precise setting adjustments.
Power Supply and Disconnect Means
Ensuring a safe and reliable power supply is crucial during Honeywell Pro 5000 installation. The thermostat typically operates on 24VAC‚ supplied by the heating and cooling system’s control transformer. It’s imperative to provide a readily accessible disconnect means – a switch or circuit breaker – to completely de-energize the thermostat for servicing or emergencies.
Overload protection‚ such as a fuse or circuit breaker‚ should also be incorporated into the power supply circuit. This safeguards the thermostat and the connected system from potential damage due to electrical faults. Always verify the voltage compatibility before connecting the thermostat. Following these guidelines minimizes risks and ensures long-term operational stability.
Initial Power-Up and System Test
After completing the wiring‚ restore power to the Honeywell Pro 5000 thermostat. Observe the display for proper illumination and initialization. Begin a comprehensive system test by initiating both heating and cooling cycles. Verify that the connected HVAC equipment responds correctly to the thermostat’s commands – the furnace should ignite for heating‚ and the air conditioner should activate for cooling.
Carefully listen for any unusual noises or operational anomalies during these tests. Confirm that the thermostat accurately displays the current temperature and responds to manual adjustments. Document any discrepancies or issues encountered during the initial power-up and system test for troubleshooting purposes. A thorough test ensures correct functionality.
Programming Basic Settings
Once powered up‚ configure the Honeywell Pro 5000’s fundamental settings. This includes setting the correct date and time‚ crucial for accurate operation and potential scheduling features. Define your preferred temperature units – Fahrenheit or Celsius – based on your regional preference. Explore the manual/auto changeover configuration; select ‘Manual’ for direct control or ‘Auto’ for automated switching between heating and cooling modes.
Familiarize yourself with the thermostat’s interface to adjust temperature setpoints for both heating and cooling. These initial settings establish the baseline for comfortable and efficient climate control. Refer to the installation manual PDF for detailed instructions on navigating the programming menus and customizing these basic parameters.
Troubleshooting Common Installation Issues
During Honeywell Pro 5000 installation‚ several issues may arise. A common problem is incorrect wiring; double-check terminal connections against the manual’s wiring diagrams. If the thermostat doesn’t power on‚ verify the power supply and disconnect means are functioning correctly‚ and that the wiring gauge (18-22 AWG) is appropriate. Ensure compatibility with your HVAC system – the Pro 5000 series (TH5000) supports 1 Heat/1 Cool configurations.
If the system doesn’t respond to temperature changes‚ review the manual/auto changeover setting. Consult the installation manual PDF for specific error codes and their corresponding solutions. Remember shielded cable isn’t typically required‚ but proper wire connections are vital for reliable operation.
Understanding Model Numbers (TH5110D)
The Honeywell Pro 5000 series features various model numbers‚ with TH5110D being a prevalent option. This model is specifically designed for systems with 1 Heat and 1 Cool functionality‚ making it suitable for many residential setups. Understanding the model number is crucial for accessing the correct installation manual PDF and ensuring compatibility with your existing HVAC system.
The TH5000 series‚ including TH5110D‚ is a non-programmable digital thermostat. Referencing the correct model number within the Honeywell documentation guarantees accurate wiring instructions (using 18-22 AWG wire) and proper configuration of settings like manual/auto changeover. Always verify your specific model before beginning installation.
Accessing the Full Installation Manual PDF
Obtaining the complete Honeywell Pro 5000 Installation Manual PDF is essential for a successful setup. While snippets of information are available online‚ the full manual provides detailed wiring diagrams‚ troubleshooting steps‚ and safety precautions. You can typically find the PDF directly on the Honeywell website (honeywell.com) by searching for your specific model number‚ such as TH5110D or TH5000.
Alternatively‚ a general search using terms like “Honeywell Pro 5000 installation manual PDF” will yield results from various sources. Ensure the downloaded PDF is legitimate and corresponds to your thermostat model to avoid incorrect instructions regarding wire specifications (18-22 AWG) or system compatibility.
Customer Support and Warranty Information
Should you encounter difficulties during or after the Honeywell Pro 5000 installation‚ Honeywell offers comprehensive customer support resources. Their official website‚ honeywell.com‚ provides access to FAQs‚ troubleshooting guides‚ and contact information for their customer service team. You can often find specific support tailored to the TH5000 series and models like the TH5110D.
Regarding warranty‚ Honeywell typically offers a limited warranty on their thermostats‚ covering defects in materials and workmanship. The duration and specific terms of the warranty vary by model and region. Refer to the full installation manual PDF or the Honeywell website for detailed warranty information‚ including how to submit a claim. Keep your proof of purchase readily available.
Honeywell Pro 5000: Beyond Installation – Features Overview
Once installed‚ the Honeywell Pro 5000 (FocusPRO Series TH5000) offers reliable‚ non-programmable temperature control. It’s designed for simplicity‚ providing manual or auto changeover functionality between heating and cooling modes. This thermostat excels in maintaining consistent comfort without the complexities of scheduling. The user interface is straightforward‚ making adjustments easy.
While not a “smart” thermostat‚ the Pro 5000 delivers essential climate control. It’s compatible with standard HVAC systems and utilizes 18-22 gauge thermostat wire. Its robust design and dependable operation make it a popular choice for residential applications. Explore the full installation manual PDF to unlock its full potential and understand all available settings.